Showing posts with label Baking. Show all posts

February 20, 2014

Yearly Resolutions: Cake Decorating

Last post, I talked about my 2011 resolution to learn painting.  In 2012, I moved onto cake decorating!


After a few years of feeling unfulfilled at my job, I was looking for something to occupy my free time that I love to do.  A friend of my recommended that I bake.  I've always loved to bake, but didn't do it that often.  I don't need all those calories sitting around on my counter!  


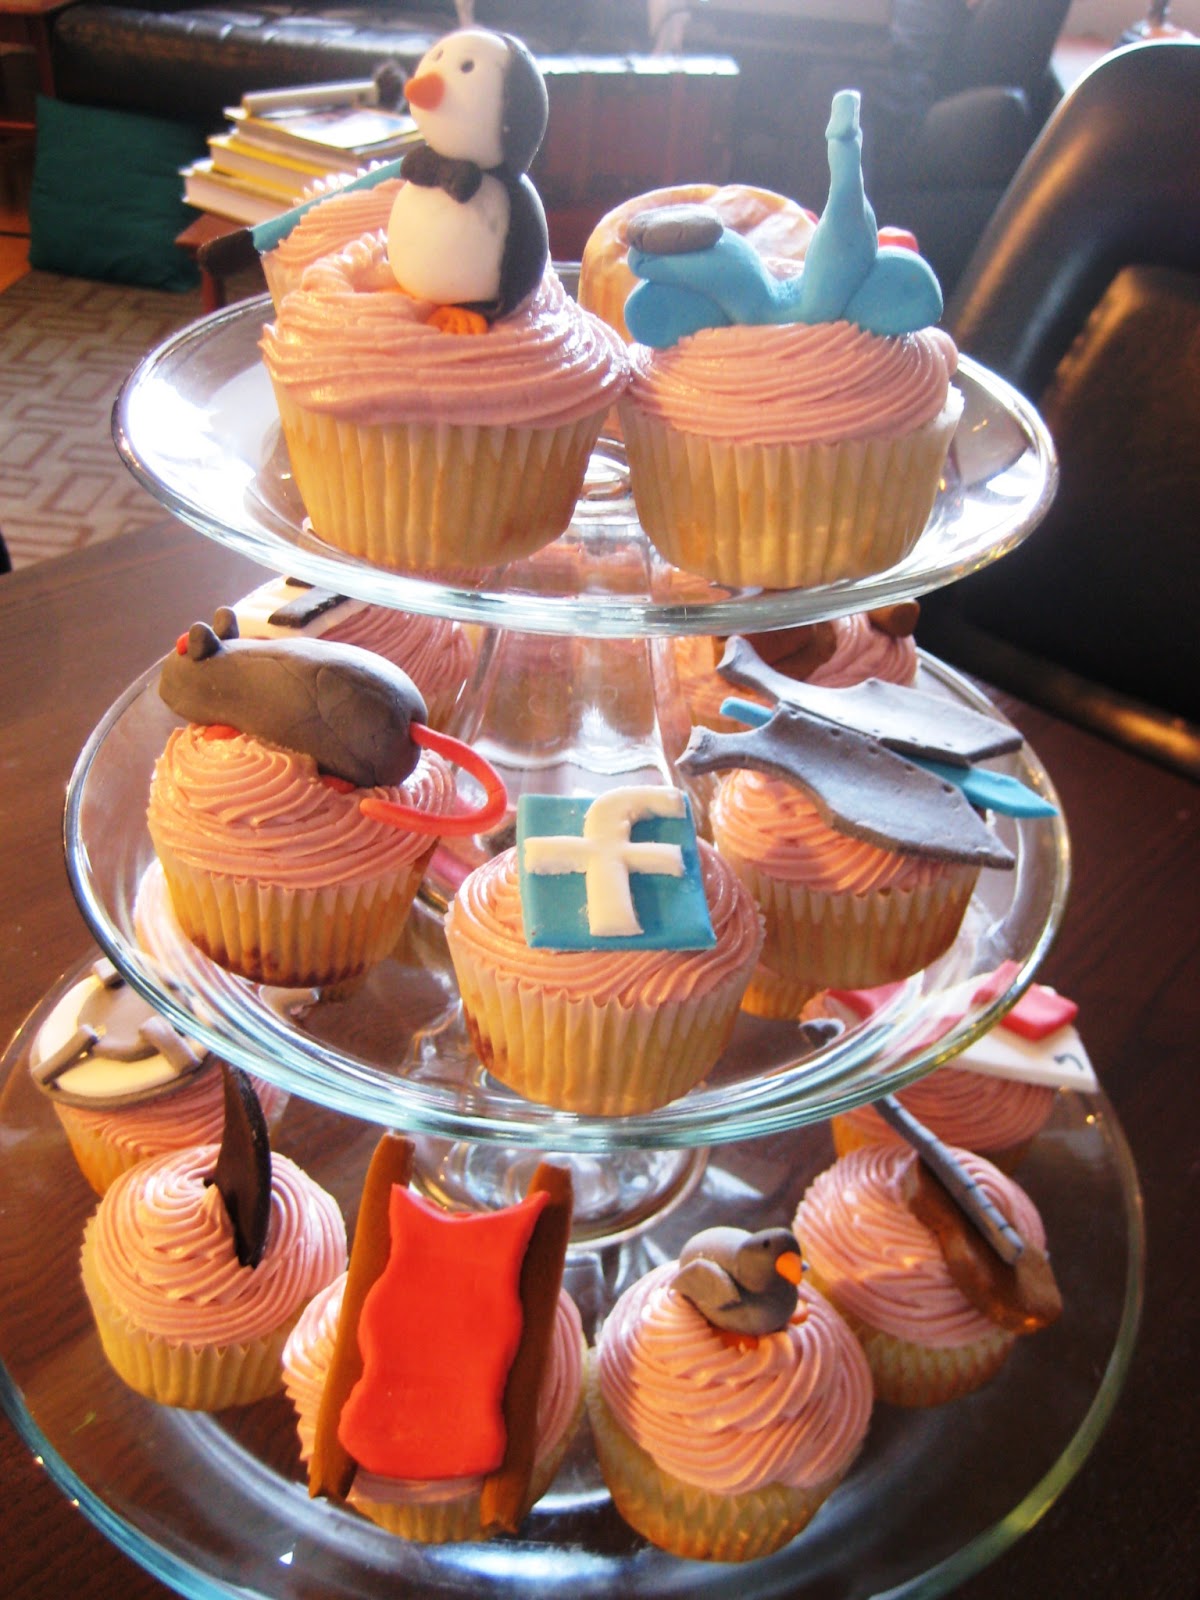
So I opened up a little side business to make cakes, cupcakes, and other desserts (usually pies that my husband requests) for friends.  Fondant is a huge design element in fancy cakes that I had zero experience with.   


I started simple... with a Doctor Who cake.  Ok.  Maybe not so simple.   


Though, now I can make cakes with fondant or buttercream that look unique and gorgeous.   The highlight of this past year was making the birthday cake for my husband's grandmother's 100 birthday celebration!   


My interest in baking also gave me the idea to put together a cookbook with all of my favorite recipes.  Now I have all of the best recipes, even a few that I've created from scratch myself, in one convenient place.  And in 2014, I have two weddings along with numerous birthdays and other celebrations!


Next up: I'll chat about my 2013 resolution... Woodworking!  That was a tough year.

February 11, 2014

Designing a Cookbook


One of my bigger projects of last year was working on my own personal cookbook.  I have lots of baking recipes that are my favorites, but they were bookmarked and saved in random places with an assortments of notes written all over.  So in an effort to organize it all, I put it together as a cookbook that I could enjoy, as well as my family and friends.   


All of the photos came from previous projects that I had worked on.  You can easily have your book printed many places online, but the place I choose was Photobook America.  They had great layouts, so I didn't have to do all the design work myself and even had a few already geared towards cookbooks.  I had it printed like a paperback, which made it look a lot nicer than a normal photobook.  I have gotten so much use out of my new cookbook!  I even gave out a few as gifts for the holidays!

August 7, 2013

Ice Cream Cone Cupcakes

Did you know that you can bake cupcakes in ice cream cones?

Well you can!  And it is actually pretty easy.

All you have to do is mix up a batch of your favorite cake mix.  Put the ice cream cones in a cupcake tin.  I used a mini cupcake tin so there was less room for them to slide around.  You have to be careful not to tip the cones while you are moving them around.

Fill the cones 1/2 to 2/3 full of batter and bake.  Then you can just decorate as normal.  It's pretty much just like baking normal cupcakes just using a ice cream cone instead of a cupcake liner.


July 30, 2013

Fondant Decorating Time!

Over the past few months, I've been working more and more with fondant on cakes for parties.  Even though after each is done, I feel like there is stuff I wish I had done better, I think they look pretty good.  I always use marshmallow fondant.  I think it tastes much better than regular fondant and it is very easy to work with.

This cake was covered in white fondant then I hand cut each piece to create a chevron print on the sides.  The cake was a tequila sunrise inspired cake so the color design was supposed to evoke the look of the drink.


This cake was for a friend's birthday party.  It is made to look like a Hobbit hole.  The cake isn't completely fondant, it is a mix of buttercream and fondant.  These materials are hard to put together since the fondant just wants to absorb the moisture from the buttercream.  You can't get a really hard fondant with this usage.  The buttercream was made to look like grass covering the whole cake, while the rest of the work is made of fondant.


Another friend asked for a special cake for his birthday.  I made a Lego Star Wars cake.  I used round cake pans (same ones I used for the Hobbit cake) to get a nice shape without having to waste a bunch of excess cake during shaping.  My inspiration for this cake was the idea that the inside was made out of Legos and they had lifted up a panel to work on it.


A few months later I had another birthday party to go to... you can see a theme here.  This cake was for a 1920s themed birthday party.  Everything was 1920s, so the cake was no exception.  It was a simply designed cake with Art Deco elements added.


Here is my most recent cake.  I made this cake for a baby shower.  The invitations had a robot on it, so I recreated it out of fondant for the topper.  He is holding onto a bundle that is supposed to look like he's carrying a baby (like a stork)... though I think it looks like of like he robbed a bank.  The rest of the cake and cake board were covered in fondant using a printed mat.  This mat was terrible to use.  The fondant stuck to it the whole time.  Advice for anyone trying to use one of these is to spray it with cooking spray first.  It adds a gross slick layer to the outside of the cake, but if you use a vodka wash on it then most of the slickness will evaporate.  It just makes it a much softer fondant.


February 24, 2013

Academy Awards Cupcakes

Inspired by the Academy Awards tonight, I created cupcakes each representing one of the Best Picture nominees from the past 85 years.  (Not all of the cupcakes have a close up in case you were wondering)


Star Wars

Wizard of Oz

Mary Poppins

Roman Holiday

Social Network

Indiana Jones

Up

Casablanca

Jaws

Hamlet (with American Beauty in the background)

Citizen Kane

On the Waterfront

Sound of Music

The Sting

Titanic

Pulp Fiction


October 31, 2012

Happy Halloween!


Halloween has been a busy time around here.  I've been baking and sewing up a storm to get ready for it.


 My bakery received an order for a Zombie cake.  I didn't get a photo of the fondant zombies, but here's the smores inspired cake.  It is a chocolate cake with a whipped icing and a graham cracker filling.  Oh and there's some blood on top.... don't worry, it's just raspberry jam.  Though that's homemade too!  I canned five jars of raspberry jam last week.


I had the worst luck with pumpkins this year.  A few friends came over a few weeks ago to carve their pumpkins, then left them at my place.  They became a breeding ground for flies within a day.  Ugh.  Then my original pumpkin (uncarved) molded before I could even carve it.  So here's my final pumpkin!  My inspiration was Inspector Spacetime from Community on NBC.  It's hard to see the hat and umbrella that really make it stand out in this photo though.


We threw a Halloween party and I had to do some baking for it.  It was an apple cider cake with a caramel frosting.  I also made an amazing homemade fall sangria that had apple cider, caramel, all sorts of seasoning, orange juice, brandy, and of course red wine.


Now we move onto my costume!  I forgot to get more photos of it.  I am terrible at that.  I always end up with one group photo and not enough to really show off my costume.  My inspiration was Archer and this photo shows everyone in our group who also dressed up as characters.  And my whole costume was DIY and cost $8.  The "boots" used to be yoga pants that were too small and short to wear anymore.  I cut off the top and sewed them around a pair of heels so they look like thigh high boots now.  The dress was self drafted with a jersey fabric so it was really comfortable all night.  And the accessories were made out of faux leather I had sitting around from a few purses I made last year.  I love DIY costumes!


August 17, 2012

How To: Pineapple Flowers!

This weekend is the Air and Water show in Chicago and we have a front row view!  Well... sort of... our windows face the area they turn around instead of the show itself... but they are still flying a couple hundred feet outside of our windows!

To watch the show, we've invited some friends over so I, of course, had to bake!  I thought pina colada cupcakes would be a nice summery treat for everyone.  And for decoration I made pineapple flowers.

All you need for this is a pineapple!  Nice and simple!


Next, you'll cut off the outside.  The holes in the pineapple below are there to get the last bit out so we have lots of usable pineapple.  (Did you know that you can plant the top of a pineapple and grow a new one too!  Just plant that top part of the pineapple and take care of it like a plant.  I guess it takes about 2 years to grow a new pineapple... mine is about 2 months in so it just looks like the top of an old pineapple.)


Cut the pineapple into strips as thin as possible.  I got about 2 1/2 dozen slices out of my pineapple and all I had was a sharp knife.


You can skip this step if you want.  I put my pineapple slices into food coloring to make different colored flowers.  Just soak for a few minutes.


Pat the slices dry and lay out the pineapple slices on parchment paper.  Excess moisture will just make this whole process take longer.  Heat in the oven at about 225 degrees in 30 minute spans.  Flip them and cook for another 30 minutes.  You'll do this a couple times until they are mostly dried out (mine didn't completely dry out) and the edges are crispy and a bit curly.


You can dry them flat or you can put them into cupcake tins make more of a flower shape.  I used mini cupcake pans to get the shape I wanted.


And the end product on my pina colada cupcakes!  Some people may not like the texture of them, but they remind me of thick fruit roll up.  Kind of chewy with a good pineapple flavor.


July 16, 2012

Tardis Cake

My friend Meg, over at Meg the Grand, has a birthday coming up.  So for her birthday party, I had to surprise her with a Doctor Who themed cake... cause if you know her, it's a necessity.

Really the best way to describe this cake is through photos.  It was a chocolate and banana cake with peanut butter brown sugar icing and chocolate fondant.  Plus all the fondant figurines!  So here goes...

The Doctor with his Tardis, a Cyberman, a Weeping Angel, some Adipose, the Silence, and Meg as the companion!  She's got a key to the Tardis!
 

Here is the video of her seeing it... someone's a bit excited.  


Meg with her figurine.

Happy Birthday Meg!

And the cake in all of its finished glory!